Introduction
How to create a calendar in Bookings
Instructions
1. Log into www.office.com using
- Fac/Staff- StarID@minnstate.edu
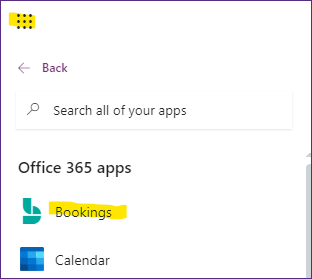
2. Use the App Launcher to find Bookings
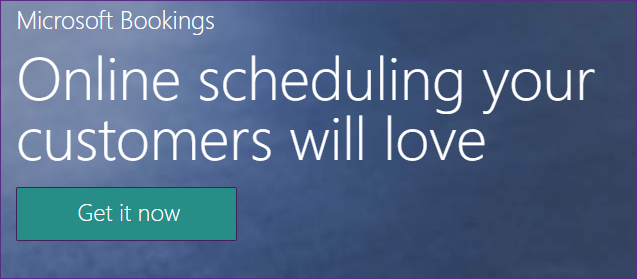
3. Click Get Now
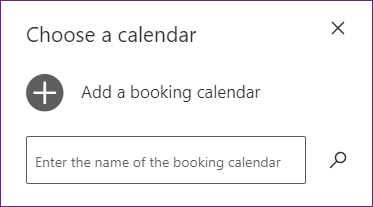
4. Click Add a booking calendar
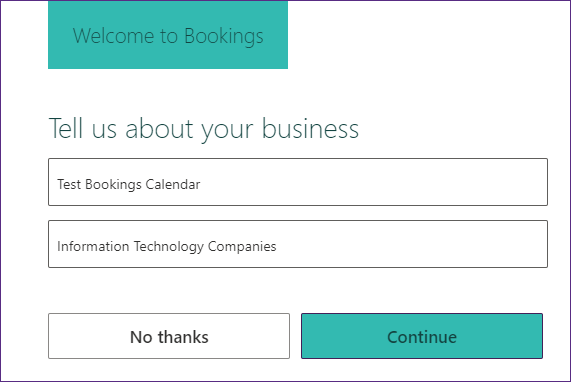
5. Type in your Booking Calendar Name in the Business Name field, choose a relevant Business Type and then click on Continue.
You will receive an email letting you know the calendar has been created.
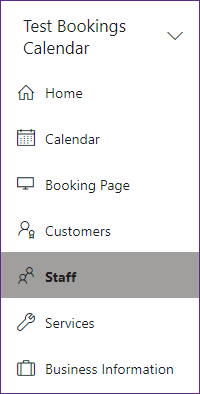
6. Click on Staff
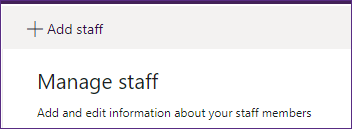
7. Notice you are the administrator already. Now you are ready to add staff that you wish to be working in the various services you will be creating in your Booking calendar. Click on Add staff. You are able to add a shared department email as staff to manage appointments using a shared calendar.
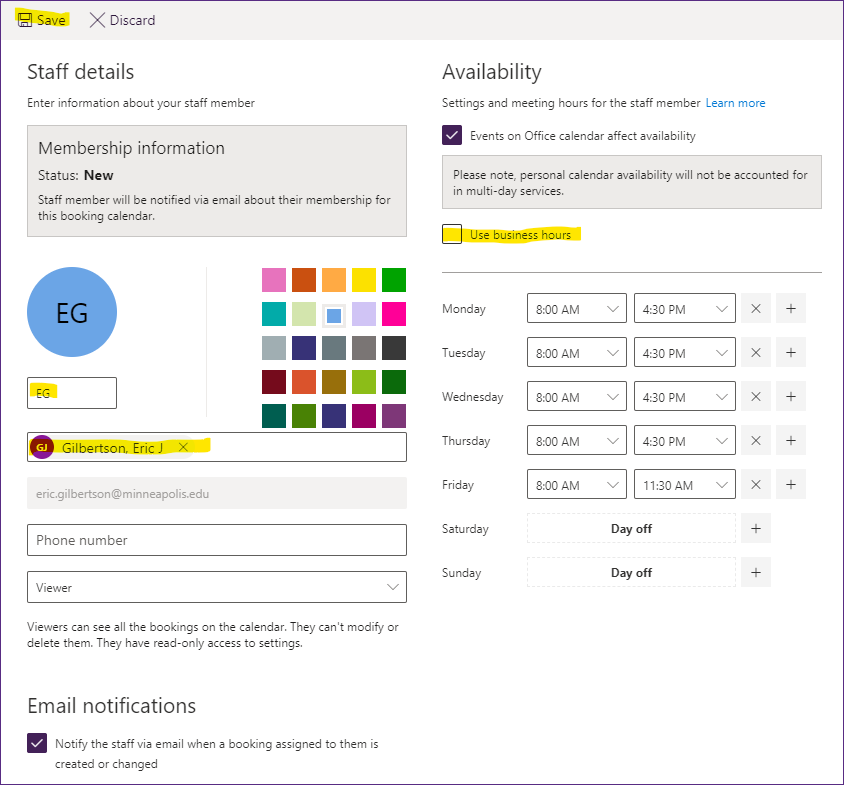
8. In the Add people field, type in the email who you wish to administer services. The name will then be auto placed in the field.
*Uncheck the check box next to Use business hours to modify days and times you wish to be in service. Simply click on X to make a day go to Day off. Click on Save
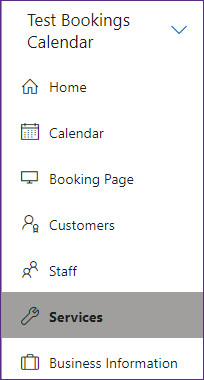
9. Click on Services.
10. Hover over the Initial consult to bring up the edit pencil and then click on the pencil icon to change the first service name etc.
Note: This is where you will also add other services by clicking on Add a service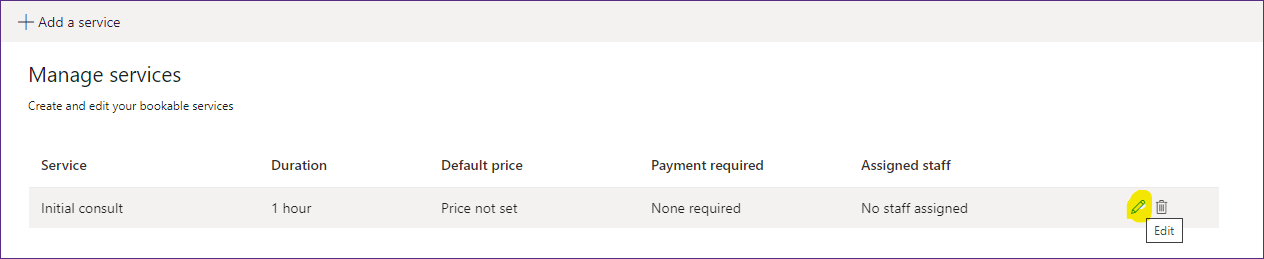
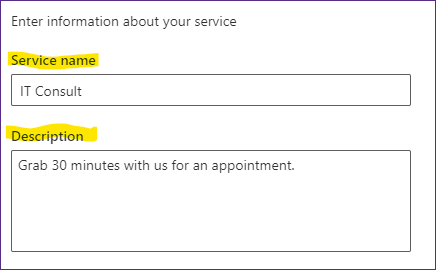
11. You edit the Service name to the service you wish it to be along with a short description. (This is viewable to those trying to book with you)
12. You can also choose an Add online meeting option. This will include a Teams meeting invite link in the confirmation email.

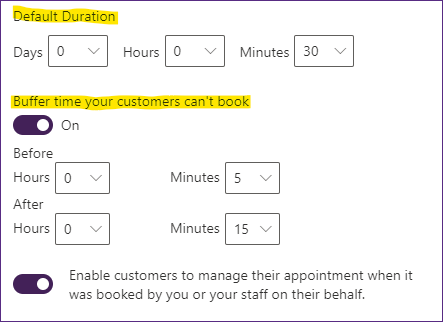
13. You can choose the duration for your service as well as giving yourself a buffer before and after each meeting to avoid back-to-back meetings.
14. Click on Modify to bring up form on the right side. Read through all this to decide what you wish to have required and/or optional for your customers to fill out when booking the service with you
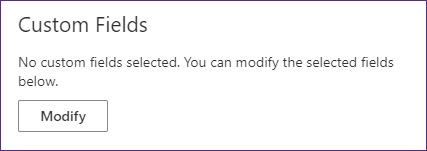
15. You can add custom fields by clicking on Add a question and you can have them display in a specific order by clicking on the options in order.
Check the check box next to Required if you want that field to be required to have filled out. Click on OK
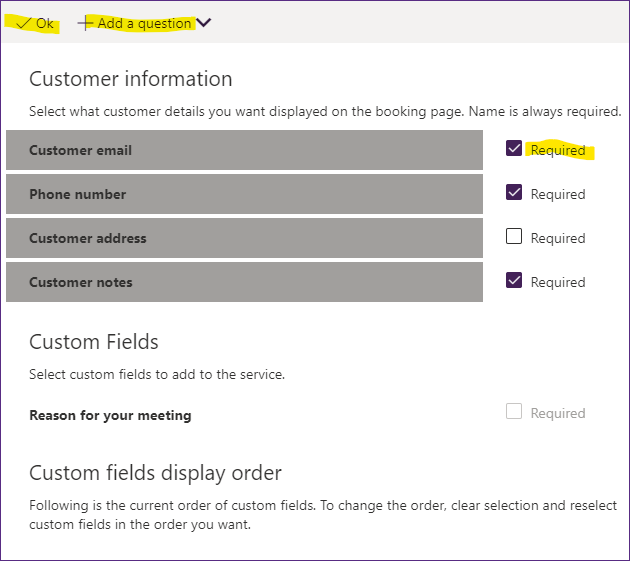
16. Reminder emails are set up by default. Modify settings as needed.

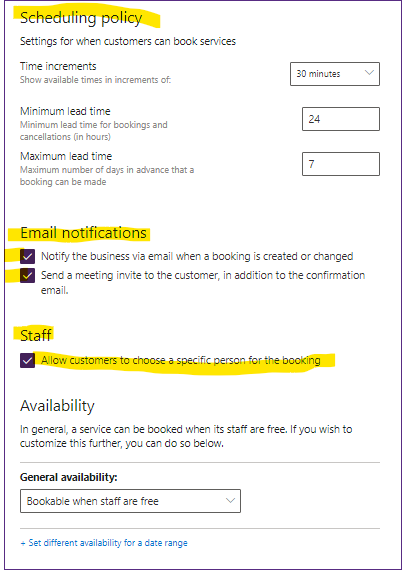
17. Uncheck the box next to Use the default scheduling policy to make adjustments to lead time etc. when scheduling. Click on Save.

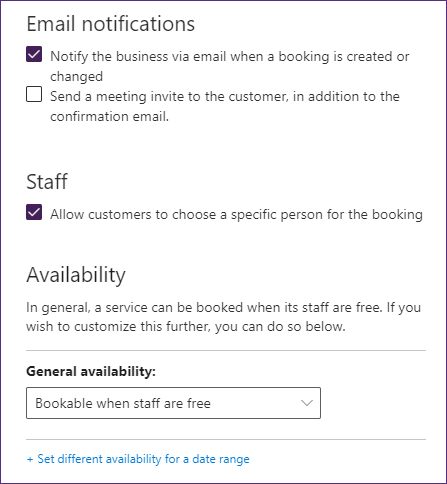
18. Email notifications: these settings are automatically checked, they will send an email to all staff members in the Bookings page as well as the individual who scheduled the booking.
Staff you can leave this checked and your clients/customers will be able to specifically choose which staff member they want to schedule for their booking. If you unselect this option then bookings will automatically assign a staff member this booking within their work availability.
To unselect any of these options you must uncheck Use the default scheduling policy.
General availability: you can adjust this to Bookable when staff are free, Not bookable, and Custom hours(recurring weekly)
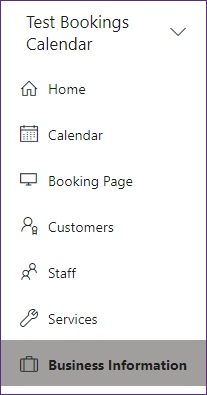
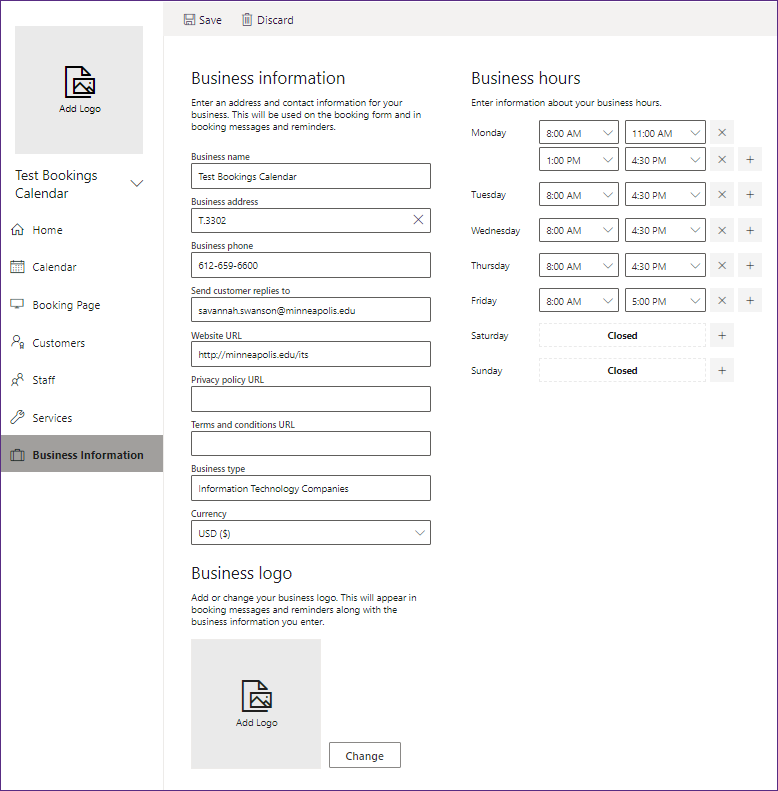
19. Click on Business Information and here you can continue to fill out your business information as well as uploading a logo by clicking on Add logo.
20. Go to the Booking Page
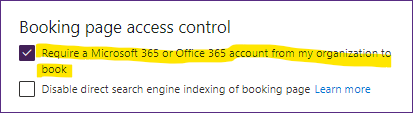
21. Check the checkbox next to Require an Office 365 account from my organization to book.
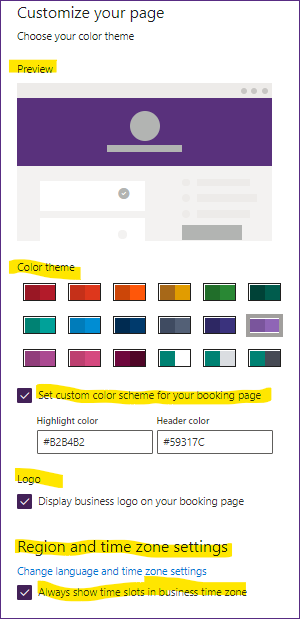
22. You can pick a color theme and check the checkbox Always show time slots in the business time zone.
23. Click on Save and publish.

Additional Microsoft articles to help you get started in Bookings: